Nail designs don’t have to be hard to do. In fact, they can be quite simple and still look great. With the right at-home gel nail polish tips, you can create beautiful nails in no time. Here are a few things you need to remember to make your gel polish experience even better.
At-Home Gel Nail Polish Tips
Choose the Right Color
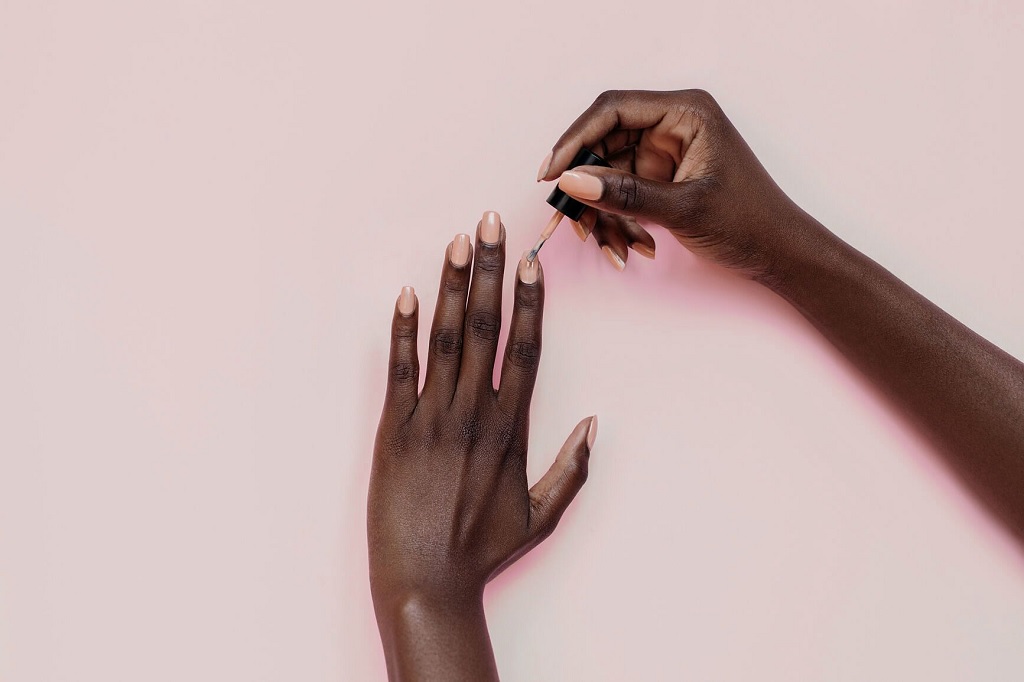
When choosing a color for your nails, you need to keep in mind what color will look good with your skin tone. If you’re not sure, ask a friend for their opinion or take a look at some color charts online. You want to go with a color that will complement your skin, not clash with it. Also, make sure you grab a good deal like DND DC duo to make the process even more convenient for you.
Apply a Base Coat
Before applying any polish to your nails, you should always apply a base coat. This will help protect your nails from staining and make the polish last longer. It’s also a good idea to apply a base coat if you’re going to be using glitter polish, as it will help the glitter stick to your nails better.
Use Quality Polish
Not all polishes are created equal. When shopping for polish, be sure to buy quality brands that will give you good results. Cheap polishes often don’t have the best coverage or longevity, so they’re not worth buying.
Don’t Skip the Top Coat
Just like with the base coat, it’s important to use a top coat on your nails. This will help seal the polish and protect it from chipping and fading. A top coat is also necessary if you want your manicure to last longer.
Cure the Polish under a UV or Led Light
Curing the polish is an important final step in achieving a long-lasting manicure with gel nail polish. UV lights can be found in most salons, or you can purchase an at-home LED light. Follow the light’s instructions for curing time.
Keep Gel Nail Design Tools in Hand
To keep your nails looking their best, it’s important to have the right tools on hand. Make sure you have a good quality nail file, cuticle cutter, and orange stick. These tools will help you keep your nails neat and tidy between manicures. Also, make sure you have accessories like rhinestones and glitters to glamorize your nails.
Choose a Design Before You Actually Start Painting Your Nails
There are many different nail designs that you can choose from, and it is often helpful to have an idea of what you want before you start painting your nails. This will help to ensure that your nails look their best.
Take Help from Someone Who Knows
If you’re not comfortable doing your own gel nails at home, take a friend or family member who has some experience with it. They can help you apply the polish and ensure a neat and even look.
Get Creative and Enjoy the Process
One of the best things about using at-home gel nail polish is that you can be as creative as you want with your designs. There are no limits to what you can do, so have fun with it! Experiment with different colors and patterns to create a look that’s uniquely you. You might love getting your hands on an OPI gel polish set and find out if there is any color you like from their collection. And don’t forget to enjoy the process — it can be a lot of fun to see your nails come to life with a new design.
Conclusion
Nail designs don’t have to be complicated or time-consuming. In fact, with the help of at-home gel nail polish, you can create beautiful and professional-looking nails in the comfort of your own home. This article provides helpful tips for using gel nail polish, from application to removal. So whether you’re a beginner or an experienced nail artist, these tips will come in handy!